Well, I canned green beans for the first time tonight. It was easier than I ever imagined and I got a lot of yield that I can't wait to tuck into when we have three foot of snow outside.
Step 1.
Make your kids and husband break their backs picking green beans; We got just under 1/2 bushell but a little more than 1/3. It came to three dollars = Bargain.


 Clean the rims and then place the lids on
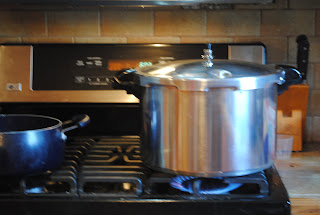
 Put on the rims, make them tight but not too tight. Easy to get off. Place in your pressure canner and follow directions. Processing time is 20 minutes but its best to do some reasearch about your OWN pressure canner. I don't want to be held responsible for lost limbs.
 Canned green beans, super easy.
Step 1.
Make your kids and husband break their backs picking green beans; We got just under 1/2 bushell but a little more than 1/3. It came to three dollars = Bargain.

Step 2 - Top and Tail, wash and cut your green beans. Canning them whole is fine too. I was using pint jars so had to chop them. If I was using quarts, I would have kept them whole. At this point its best to grab a beer, Canning under the influence!

Wash your Jars and lids, I raw packed so sterilized my jars, put in the cold green beans, half a teaspoon of salt (full teaspoon for quarts) and hot water, leaving 1' of headspace.


We decided to go Peach picking to get a few for our own consumption. We got there and was told that we had to pick a half bushell and if we wanted less we didn't get to pick but could buy them from the shop. This orchard is a great place, very pretty and we will go back for the three tons of apples I need to make a years worth of unsweetened apple sauce (We eat alot of apple sauce..... so we are talking 48 quarts here and we still might end up with it not lasting a year).
We managed to get:
1/2 Bushell of Peaches
1/4 Bushell of Green Beans (ever picked your own green beans? don't bother, get them from the farmers market, I felt like I broke my back for an hour after. Nothing that a magarita can't fix though!)
Dozen Sweetcorn..
All for the wonderful price of $15.

We are processing the green beans and corn also but the peaches was what we really had to get going on because they spoil so quickly.


Dehydrated peaches are yum, natures candy. We put them in the dehydrator last night at about 10 and they were ready at 10 the next morning.
We also froze some, about a gallon in fact. I didn't want to can them all because peaches are great in smoothies also. At the same time, I don't want a freezer full of peaches. What happens if we lose electricity? I want my canned food! The people accross the road might starve but we'll be ok! (not really, i'd probably invite everyone round and have a redcross shelter in my basement)
Then we canned some spicy peaches in the pressure canner. Peaches can be safetly water bath canned but I bought a new pressure canner today so was playing. Pressure canners are a whole new animal, on numerous occasions I was hiding under the dining table waiting for the thing to blow up. So far so good though and the jars are sealed fine.
We used a light syrup (1 quart of water, 2 cups of sugar) which we poured over sliced peaches already in jars. Stuck in a cinnamon stick and some cloves and popped them in the pressure canner. 5 pounds of pressure for 10 minutes processing time. My pressure canner is my new love and i'm going to can some green beans tomorrow.


Recently my fridge has been constantly building up with cucumbers. We have two gardens right now, one at home and a plot at the community gardens. My husband always goes on and on about how much he loves pickles and cuc's. Being the loving wife I am... I planted ten cucumber plants. He doesn't love them as much anymore.
I've already canned a few batches of pickles that are sitting in the pantry until January (hopefully he will like them again by then) but its hot out, I don't want to play with the waterbath today and I have a fridge full of cucumbers. What to do? Freezer pickles!
The great thing about freezer pickles is that you don't have to be as precise, you can go with the flow a little more and play with the recipe because it doesn't need processing. You also don't have to use a mason jar, you can use Tupperware or anything else that you would usually freeze in.
I'm going to post the recipe I used however, changed it up, swap things out, make it your own. Google freezer pickle recipes and see what different things you come up with that suits your taste.
2lbs Pickling Cucumbers thinly sliced
2 onions thinly sliced
1 red pepper diced
3 tablespoons salt
1 1/2 cups of sugar
1 cup white vinegar
1 tablspoon of celery seed
1 tablespoon of dried dill weed
Put your cucumbers, onion, pepper and 2 tablespoons of the salt in a large bowl. Cover it with some crushed ice and mix it really well. Stick it in the fridge for 8 hours.
Rinse your cucumbers really well.
In a sauce pan combine the sugar, vinegar, celery seed, dill and 1 tablespoon of salt. Bring it to a boil and let it cool a little. Put your cucumber mixture in desired containers and poor liquid over the top.
Put pickles in the freezer! You can let them thaw at room temperature or in the fridge. I'm interested to see if they keep their crunch but I've heard good things and I'm sick of my fridge being full of these little green monsters.
I'm all jammed out lately and peaches aren't even ready yet. I have a lot of plans for future produce but honestly, I've started preserving things that we will use with meats as marinades and sauces instead.
Raspberry Chipolte Sauce is a big hit in our family and its very similar to the recipe posted earlier for Cherry Chipolte, in fact.. its the same but I switched the fruit around.
6 Cups crushed raspberries
1 cup chopped Onion
3 tbsp chopped Garlic
1 1/4 cups Honey
3/4 Apple Cider Vinegar
1 tbsp Worcestershire Sauce
2 tsp Red Pepper Flakes
2 tsp Dry Mustard
1 tsp Salt
1/2 Cup Chipolte Chiles in Adobo, minces and seeded. (this is more than required, I like it hot. If you don't i'd suggest maybe 1/4 cup)
Combine everything in a large sauce pan, bring to a boil. Reduce heat and simmer, stirring frequently until mixture thickens to the consistency of a thin commercial barbecue sauce. This takes about 30 minutes.Ladle hot sauce into hot jars, leaving 1/2 inch head space. Remove air bubbles, wipe rim and process in a boiling water canner for 15 minutes. Adjusting appropriately for altitude. Remove jars.
- 4 qts cubed or shredded zucchini
- 46 oz canned unsweetened pineapple juice
- 1½ cups bottled lemon juice
- 3 cups sugar
- I added a little bit of yellow food coloring just to make it more pineapple-looking. This step can obviously be missed or you can use a natural way of coloring it. I added a tiny bit for the whole recipe so I am not concerned.

Procedure: Peel zucchini and either cut into ½-inch cubes or shred. Mix zucchini with other ingredients in a large saucepan and bring to a boil. Simmer 20 minutes. Fill jars with hot mixture and cooking liquid, leaving ½-inch headspace. Adjust lids and process. Process for 15 minutes in a Hot water bath. Tada! Zuchinni Pineapple, awesome with cottage cheese and you can't tell its a vegetable, score!


We are having so much success in our Garden this year. I'm excited when we can pick produce and eat it that night, things we have started from seed. As much as I'm sick of seeing Zucchini's I'm going to be excited in January when I can go in my freezer and get out some strips to put in a Stir Fry.


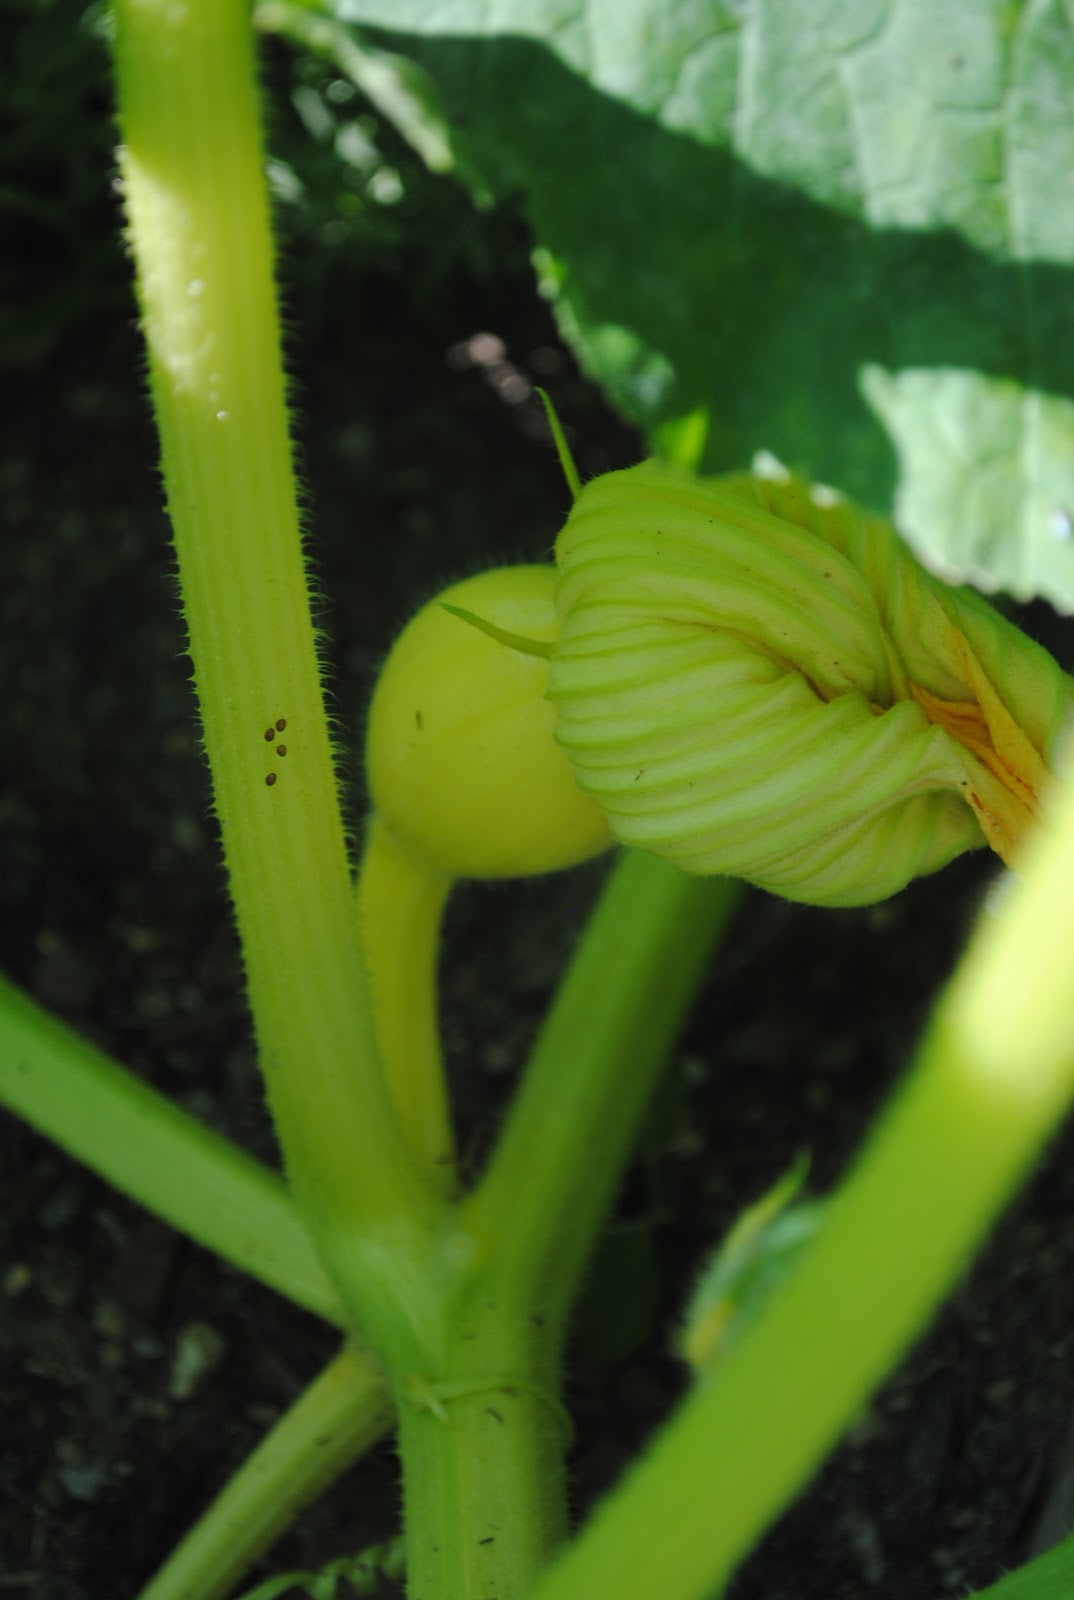
We already have a little pumpkin growing!

Carrots, Onions, beans, Cucumbers (trellised)
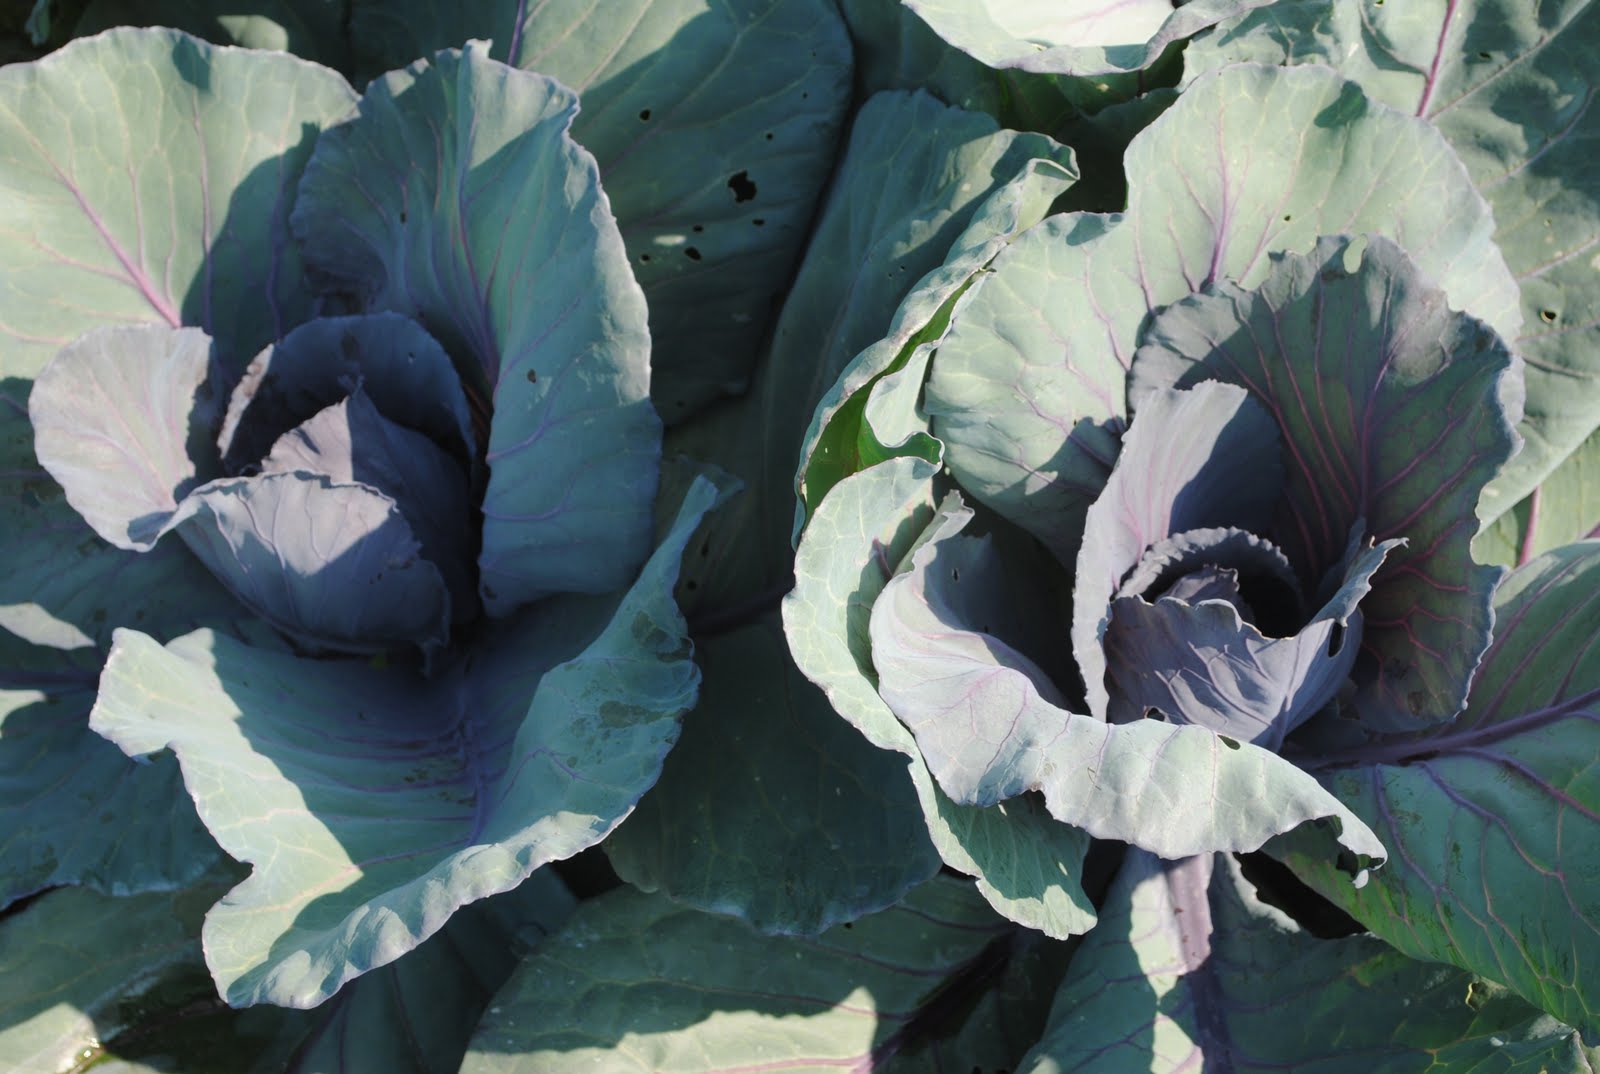
Red Cabbage, I love this stuff, can honestly eat a jar of picked red cabbage per day. Which I very rarely attempt but mmmm YUM!

Our Giant Sunflowers, Doing so well! So tall and their stalks are very thick and healthy, I can't wait for them to bloom.
Our Garden is doing really well. Our first harvest was radish which I made into breakfast hash and roasted with some carrots to have as a side with spring dinners. Now though, we are getting to the time when things really start to happen. It feels like our Zucchini plant exploded overnight. I'm sick of it already, So I decided to pull out some of my favorite Zucchini recipes.


As soon as I get enough I will be Canning the zucchini to make fake pineapple to use in the winter. Here is the recipe I will use!
Adapted from this recipe for Zesty Peace BBQ Sauce
Ingredients:
6 Cups finely chopped pitted Cherries, about 3lbs
1 cup chopped Onion
3 tbsp chopped Garlic
1 1/4 cups Honey
3/4 Apple Cider Vinegar
1 tbsp Worcestershire Sauce
2 tsp Red Pepper Flakes
2 tsp Dry Mustard
1 tsp Salt
2 tsp Orange Zest
1/2 Chipolte Chiles in Adobo, minces and seeded.
This made 8 8oz Jars
Prepare your canner, Cans, Jars and lids.
Make hard working husband pit pounds and pounds of cherries.
 and chop finely.. This process takes a while so put on some good music and get into it.

Combine everything in a large sauce pan, bring to a boil. Reduce heat and simmer, stirring frequently until mixture thickens to the consistency of a thin commercial barbecue sauce. This takes about 30 minutes.

Ladle hot sauce into hot jars, leaving 1/2 inch head space. Remove air bubbles, wipe rim and process in a boiling water canner for 15 minutes. Adjusting appropriately for altitude. Remove jars.
This stuff goes with everything, I've put it on the side of the majority of things i've eaten in the last couple of days!
Ingredients:
6 Cups finely chopped pitted Cherries, about 3lbs
1 cup chopped Onion
3 tbsp chopped Garlic
1 1/4 cups Honey
3/4 Apple Cider Vinegar
1 tbsp Worcestershire Sauce
2 tsp Red Pepper Flakes
2 tsp Dry Mustard
1 tsp Salt
2 tsp Orange Zest
1/2 Chipolte Chiles in Adobo, minces and seeded.
This made 8 8oz Jars
Prepare your canner, Cans, Jars and lids.
Make hard working husband pit pounds and pounds of cherries.


Combine everything in a large sauce pan, bring to a boil. Reduce heat and simmer, stirring frequently until mixture thickens to the consistency of a thin commercial barbecue sauce. This takes about 30 minutes.

Ladle hot sauce into hot jars, leaving 1/2 inch head space. Remove air bubbles, wipe rim and process in a boiling water canner for 15 minutes. Adjusting appropriately for altitude. Remove jars.
This stuff goes with everything, I've put it on the side of the majority of things i've eaten in the last couple of days!
I usually make my own pizza dough because I don't like the stuff you buy in the store. It looks so stale and crusty and yuck! The bake-your-own stuff is $3 in these parts, for that I could probably make 10 crusts of my own. This is the recipe I follow, It costs me pennies because I usually have all of these things in anyway.
1/2 Cup Warm Water
2 Tablespoons Dry Yeast
5 Cups Bread Flour (Its best to use Bread Flour but if I don't have it in, I use regular and it's just fine)
1 1/2 cups cool water
2 Teaspoons of Salt
1/4 cup Olive Oil
2 Tablespoons of Honey
In a large bowl, stir the yeast into into the warm water until dissolved. Let it stand for about ten minutes. It should get a little foamy top like beer.
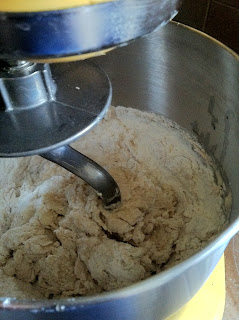
Add the flour, the cool water, salt, olive oil and honey into the yeast mixture. Knead with a dough hook for about 5 minutes or by hand for 7.
Place the dough in a large greased bowl, cover with a damp (but not dripping wet) tea towel or i've found paper towel works ok too... just wet it a little.

Allow it to rise for 30-45 minutes or until just about doubled in size. I usually put my oven on 175 then switch it off. The temperature in the oven stays warm but not too warm.
Take out your dough and punch down, divide into 2 portions for 2 cookie sheet size pizzas. If you want to freeze some, coat each ball of dough in olive oil, wrap in plastic/place in zippy and freeze. Just let it defrost for a day and then then let rise, punch down and make your pizza.
1/2 Cup Warm Water
2 Tablespoons Dry Yeast
5 Cups Bread Flour (Its best to use Bread Flour but if I don't have it in, I use regular and it's just fine)
1 1/2 cups cool water
2 Teaspoons of Salt
1/4 cup Olive Oil
2 Tablespoons of Honey
In a large bowl, stir the yeast into into the warm water until dissolved. Let it stand for about ten minutes. It should get a little foamy top like beer.
Add the flour, the cool water, salt, olive oil and honey into the yeast mixture. Knead with a dough hook for about 5 minutes or by hand for 7.

Place the dough in a large greased bowl, cover with a damp (but not dripping wet) tea towel or i've found paper towel works ok too... just wet it a little.

All my tea towels are in the wash, paper towel it is!
Allow it to rise for 30-45 minutes or until just about doubled in size. I usually put my oven on 175 then switch it off. The temperature in the oven stays warm but not too warm.
Take out your dough and punch down, divide into 2 portions for 2 cookie sheet size pizzas. If you want to freeze some, coat each ball of dough in olive oil, wrap in plastic/place in zippy and freeze. Just let it defrost for a day and then then let rise, punch down and make your pizza.
On Saturday afternoon I spent my day climbing up cherry trees like a monkey at an Orchard nearby. After picking 7lbs of cherries, yes SEVEN lbs! I came home and got some things together to make cherry pie filling in cans. I wanted to can the filling, rather than freeze because it lasts longer that way and I like to leave some room in my freezer for when things go on sale. The following recipie is for a 1 quart jar, I just tripled it so I had enough for three jars, with the left overs I made boozey drunk cherries to put in cocktails when I feel the need.

Cherry Pie Filling (from CanningUSA.com)
5 Cups of pitted cherries (for the love of your sanity, buy a cherry pitter)
Nutmeg - about a 1/4 teaspoon, I just threw it in there
Cinnamon - about 1/4 teaspoon
1/4 Cup Water
3/4 Cup sugar
3 Tablespoons of Clear Gel. (I may have used cornstarch instead but you're really not supposed to)
2 tablespoons Lemon Juice
Work out how much you need of each for the amount of pie filling your making, as I stated earlier, I made three quarts so just timed everything by three.
Clean and pit your cherries, Child labor comes in REAL handy here.
Combine your water, spices sugar, lemon juice and clear gel (or cornstarch if your naughty) in a large heavy pan. Bring to a boil stirring continuously to avoid lumping of the Clear Gel.
Add your cherries, bring up to a simmer for about five minutes, stirring continuously. This should get pretty thick, like canned cherry pie filling but with actual cherries in it!
I used the water bath canning method for this and processed them for 30 minutes. I'm going to make a post about water bath canning very shortly! Until then, do a google search and you can find out lots of instructions.

Drunk, Boozey, Alcoholic Cherries.
1/4 Cup Water
1/4 Sugar
1 Cup Brandy
Place leftover pitted cherries in a mason jar. Mix the water and sugar on the stove and heart to get syrupy but not caramel, its a good idea to mix the entire time your doing this. Take off the heat and mix in your brandy. Pour over pitted Cherries and stick in the fridge. Wait at least a month and then get drunk on fruit. Alternatively you could just put one in a cocktail (if you're civilized, unlike me)


Cherry Pie Filling (from CanningUSA.com)
5 Cups of pitted cherries (for the love of your sanity, buy a cherry pitter)
Nutmeg - about a 1/4 teaspoon, I just threw it in there
Cinnamon - about 1/4 teaspoon
1/4 Cup Water
3/4 Cup sugar
3 Tablespoons of Clear Gel. (I may have used cornstarch instead but you're really not supposed to)
2 tablespoons Lemon Juice
Work out how much you need of each for the amount of pie filling your making, as I stated earlier, I made three quarts so just timed everything by three.
Clean and pit your cherries, Child labor comes in REAL handy here.
Combine your water, spices sugar, lemon juice and clear gel (or cornstarch if your naughty) in a large heavy pan. Bring to a boil stirring continuously to avoid lumping of the Clear Gel.
Add your cherries, bring up to a simmer for about five minutes, stirring continuously. This should get pretty thick, like canned cherry pie filling but with actual cherries in it!
I used the water bath canning method for this and processed them for 30 minutes. I'm going to make a post about water bath canning very shortly! Until then, do a google search and you can find out lots of instructions.

Excuse the baking sheet, I use it specifically for pouring into my canning jars, if you think its REALLY disgusting feel free to buy me another ;)
Drunk, Boozey, Alcoholic Cherries.
1/4 Cup Water
1/4 Sugar
1 Cup Brandy
Place leftover pitted cherries in a mason jar. Mix the water and sugar on the stove and heart to get syrupy but not caramel, its a good idea to mix the entire time your doing this. Take off the heat and mix in your brandy. Pour over pitted Cherries and stick in the fridge. Wait at least a month and then get drunk on fruit. Alternatively you could just put one in a cocktail (if you're civilized, unlike me)

Subscribe to:
Posts (Atom)
Share Me

